It was challenging!
It was frustrating!
It was almost firewood!
I cursed!
BUT, It's done!
Do you see how perfectly it fits in that space? Of course, that's the result of careful planning, accurate measurements, and skill. Oh, heck, I lie! I wish I had pictures of me breaking a sweat when I tried to "slide" it into place, and the legs wouldn't fit down over/between the moulding!
That's when the cursing occurred.
If you recall, I built this in three pieces: the bookcase/back support, the front/legs/drawer component, and the top. I had to get this upstairs and around corners so that was the only way I could think to build it. I measured, and measured twice (really, I measured about 20 times!). Then I deducted from my measurement the depth of the base mouldings. I know I did this! I was so sure of my measurements that I didn't just screw everything together (with pocket holes made with my Kreg jig), but I glued it all together, too. There was no way I could take this apart to shave off the 3/8" I needed to get this
I pushed and shoved, Mr. Neighbor pushed and shoved. We all scratched our heads. They even said I could notch out the moulding - I really didn't want to do that! So, while Mr. went to get a hammer to beat the thing into submission, I decided to try to push it in from a different direction. I leaned it down almost to the floor and slid the legs in between the moulding, then I pushed down as I lifted and -SUCCESS! It was in place! The drawers weren't tweaked in the process, and they still work, so all's good!(And, no, those legs aren't crooked - it's the camera angle! :-).
 |
| BEFORE |
 | ||
| AFTE (the shelves still need clips to support them). See those legs, sitting on the floor between the moulding - Whew! |
 |
| After all the problems with the finish, I think it turned out beautifully. It's a nice warm color, with a smooth, satiny shine. |
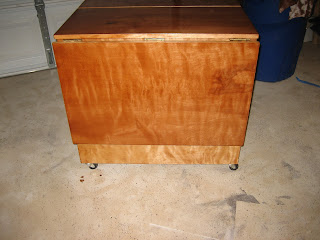
And, the drop leave table's finish is nice, too. I finished the top, but left the final finish of the sides and interior to Mrs. Neighbor. I was just done with that finish!

