Pages

Saturday, December 9, 2017

Christmas 2017

Well, I haven't posted here in awhile. I've been busy-really busy, and I'll eventually sit down and put together a post with everything I've been doing. Until then, here's something I just finished.
When I came home from my month long visit to Christy's, my sweet sister had the house ready for Christmas. It was so nice to come home to a festive, holiday-ready house. But, my old fake tree has been lacking a tree skirt or something to hide the ugly metal stand. Gifts used to hide it but the changes in our lives often mean that gifts are shipped or put into boxes that are taken to kids' homes to be opened there. So, this morning I decided to do something for our house. The tree now has a pretty crate to sit in and we'll have another box to store ornaments and things when it's time to put everything away!  Scraps, stain, paint smeared on-done. 


I'm happy-ho, ho, ho!

Friday, August 25, 2017

Another BIG Table - built and delivered!


In case you're wondering if I've been sitting on my thumbs in an air conditioned home, you could be right!  For the past week, anyway, that's just what I've been doing.

But, first, full disclosure:  I have caved and created both a Widow's workshop Facebook page and an Instagram page.  They are both easier to update on the fly; pictures are already on my phone and I can just click and send, with or without text, to either of those social media outlets.  Through those, along with an Etsy shop, have found a few buyers for some of the things I create.  So, just a quick explanation for why you haven't seen recent updates to my blog and why you might think I've just been sitting around eating bon bons!

Now, here's the story about what had me busy the last few weeks.  


A couple of tables back, a young woman contacted me about building her a table similar to the most recent table I'd listed for sale.  She liked it, but was looking for something a little more modern, something like tables from Restoration Hardware or West Elm.  And, she wanted a silver finish!  Could I do it, she asked.  Well,  hmmmmm, let me go look at some of the pieces she liked and I'd get back to you, I said.  While the tables looked fairly basic, both companies create what looks like very sophisticated joinery using veneers.  I don't/haven't done veneer work.  I told her I could make a big bulky table like she was looking for, but it would be fairly basic in design.  I did agree that I could do a very light grain release and give her a silvery finish.  I created a sample for her, explained that due to the extra work the finish would involve, the price would probably be a couple hundred dollars more than the table they'd initially seen and liked, and they decided they wanted to move forward.  I had to explain to this sweet young woman that the summer of surgeries was ahead of me and I wouldn't be able to get to it until the end of July or first of August.  While my brave girls were getting their lives in order, my new customer was also having a busy summer that involved landscaping and pool building.  In the midst of that she called and explained that they just didn't think they could spend the money right then and would have to wait.  Honestly, I think I danced a jig!  I'd just finished two huge tables - heavy tables, and I knew that I'd be an aching mess during this table build.  I was so relieved to not have to think about starting that project!  And, then about 4 weeks later I got a text saying that they'd decided that they did want the table and could I make it for them.  Big sigh, yes I can... I even built a prototype for them to make sure they liked the simple plan I had.


Not sure, but maybe Owen will get an outdoor play table...


So, that's what I did.  I happened to be at Logger Daughter's right before the build was to begin.  I stopped by a saw mill my SIL said I just had to see.  It's owned and operated by Al, an 84 year old man!  

Al was up at the top of this pile, found these 16' boards, swiveled them around, hollered at me not to "help" and to get out of the way, got down and loaded these on the fork lift and drove them around to the front of his shop.  The next day I went back for one more board and he just carried it around to the front of the shop - on his shoulder, up-not dragging one end!

You probably can't see it, but Al always has a cigar in his hand.  When I was there it wasn't lit, but he never put the thing down!  It's like it's become a part of his hand.

Oh this guy could run rings around a 20 year old!!!  He was moving timber from log piles to the mill, hoisting these things up like they were just a tiny bit heave.  He was climbing all over the tall, tall, stacks of cut lumber searching for just the right lumber for me.  He cut, he jointed, he planed.  I was in awe of him.  And, I came home with a truck load of the finest cedar and pine I've ever seen.  I did have to plane the pine boards for the table top, other than that, they were ready to go.  


Beautiful - and fairly straight!


Glued and clamped.

I used biscuits to connect the planks.  

Table base made from cedar.  Those legs were used straight from the mill.  Slightly rough cut, but straight as could be!

Pretty - and now you can see just how little space I have in here!!

Before grain release
After grain release - I used a wire wheel attached to my drill to slowly brush across every inch of the table top.  You can see the results better in the pictures below.
     
Then I sanded it to get rid of the fuzzies, and smooth it out as much as I could without losing that grain!


And then I sprayed on a coat of  Rustoleum Hammered Silver paint.
 And, then I sanded.  And then I dry brushed on a coat of Rustoleum Metallic Silver.  

Rust-Oleum Painter's Touch 32 oz. Ultra Cover Metallic Silver General Purpose Paint


Such pretty highlights.  I have to say, at the beginning of this project, this would not have been my choice of finish.  Once it was complete, I was won over.  It really is a pretty look.  Glamorous, but the rough wood grain keeps it real.

Done!  Ready for pick up.


The base has two coats of oil-based polyurethane and the top has 4 coats.  Before the final coat, I added another dry brushing of silver metallic paint.  The oil-based poly has an amber tint that took the shiny silver down a notch, and I wanted as much shiny silver as possible to show.  I thought it was good.  Although my client loves the table, she really wanted less amber or wood tones to show, and more silver so she will be adding more of the silver metallic (dry brushing).  You know my policy - I make it, I'll finish it even though I'm not a finisher, and then I'm done.  You pay me and take it.

I think they will love the table once she's played with it a bit.  I suggested they add accessories and the chairs (gray velvet with silvery nail heads) and see if they still noticed the amber tones or if maybe it would be just what they wanted after all.  I think she'll do that, but she may still want to see what she can do to get her silver!  She's promised me pictures once they have time to get their dining room together.  We'll see...


Thursday, July 20, 2017

Projects I've been working on: Big Table and Heavy, heavy desk, oh, and an Over-John cabinet!

Happy mid-summer!  Boy has it been hot here.  Hot and humid.  It's made it hard for me to get up the energy to work on anything.  BUT, I had a lot of projects that I had enthusiastically started and I felt like I just had to finish them.  Now they are finished and my garage is full - too full to do anything else!  Which is okay, I have a legitimate reason to sit on my rear and binge watch the Dr. Blake Mysteries, and other BBS series that I have a fondness for!!

So, here's the latest from my garage:

First up, this big Custom made, beautiful, big, pine farmhouse table. Made with salvaged legs and common pine table top. About 7' long x 39" wide x 29-1/2" tall. Top is finished in a custom gray with very light brown undertones-it is solid and rustic with true signs of the age of the lumber. Legs are dark gray chalk paint, overlaid with white chalk paint, heavily distressed to show the age of the legs, and sealed. Several coats of polycrylic sealer on both the top and legs to protect and make this easy to wipe clean. This is not an heirloom table that you won't want to use - it is a table to be used and enjoyed!  This is for sale now for $395.  I'm hoping it sells quickly since it takes up half of my workspace!


Then, there's this large, heavy, solid, oak desk that was originally a stained, restored with Annie Sloan gray chalk paint, washed in white/light gray. Top stained in dark gray, lightly distressed to show bits of the original brown stain. Entire desk sealed with polycrylic finish. This desk has a few dings that only add to the character. The drawers, (2 pencil, 1 file, 1 med size) and the cabinet all are solid oak and have like-new working hardware. Solid, heavy workhorse! 60-3/4" long x 22" deep x 29" tall.   This was a Re-Store find that I just couldn't leave sitting in their lot!  It didn't have legs on the left side so I had to build a support system there.  I think I have it sold for $85, which is a steal, but then I got it for a steal, too 😁.  Again, I'm hoping this is out of my garage by early next week - it's taking up a quarter of my work space!  


And, finally, this Custom Over-john cabinet - do they still call them that?  
Anyway, I built this for camper daughter's downstairs bathroom. They have no storage in this room, but, it is just too big for their small space.  So, it's finished and ready to use and is now for sale.  It could really be used anywhere, but it will be perfect for a larger bathroom.  I hope to get $95 for this (hmmm, $85 for that desk and $95 for this - seems out of whack, but I actually made this and just finished the desk; I guess that makes sense!)


Anyway, until these things are gone, I'm stuck in the air-conditioned house, oh what a hardship! 

Stay cool!

Friday, June 16, 2017

BRCA2, Closets and Grandkids

The past couple of months have been hectic, and different.  Our family has been engulfed in something we just never expected.  BRCA2.  I'd never given it a thought until about 8 weeks ago, and then we learned that Don's family carried the gene.  Immediately my girls and daughter-in-law stepped into action.  Their doctors ordered genetic testing.   My son tested negative.  He will not pass along the gene to his son or future children.  However, both my girls tested positive.  They may have passed the gene onto their children - testing for them will not take place until they are 18 years old.

For my girls, the positive results put them into hyper mode.  They met with doctors, genetic counselors, surgeons, and plastic surgeons.  Surgeries were scheduled, with no time to really take it all in.  The girls, and their doctors, were completely in sync:  take out the organs most likely to be effected by this mutated gene.  Hysterectomies, double mastectomies.  These were words that were seldom voiced by any of us until 8 weeks ago.  Now, not a day goes by without a conversation about surgical methods, options, recovery, etc.  Logger daughter has had both the hysterectomy and the mastectomy.  She will finalize her breast reconstruction in September.  Camper daughter has completed the hysterectomy and her mastectomy will be scheduled for sometime in September.  With each surgery the relief my daughters feel is palpable.  Come September we all may feel a bit more normal, but I don't think we'll ever feel the same again.

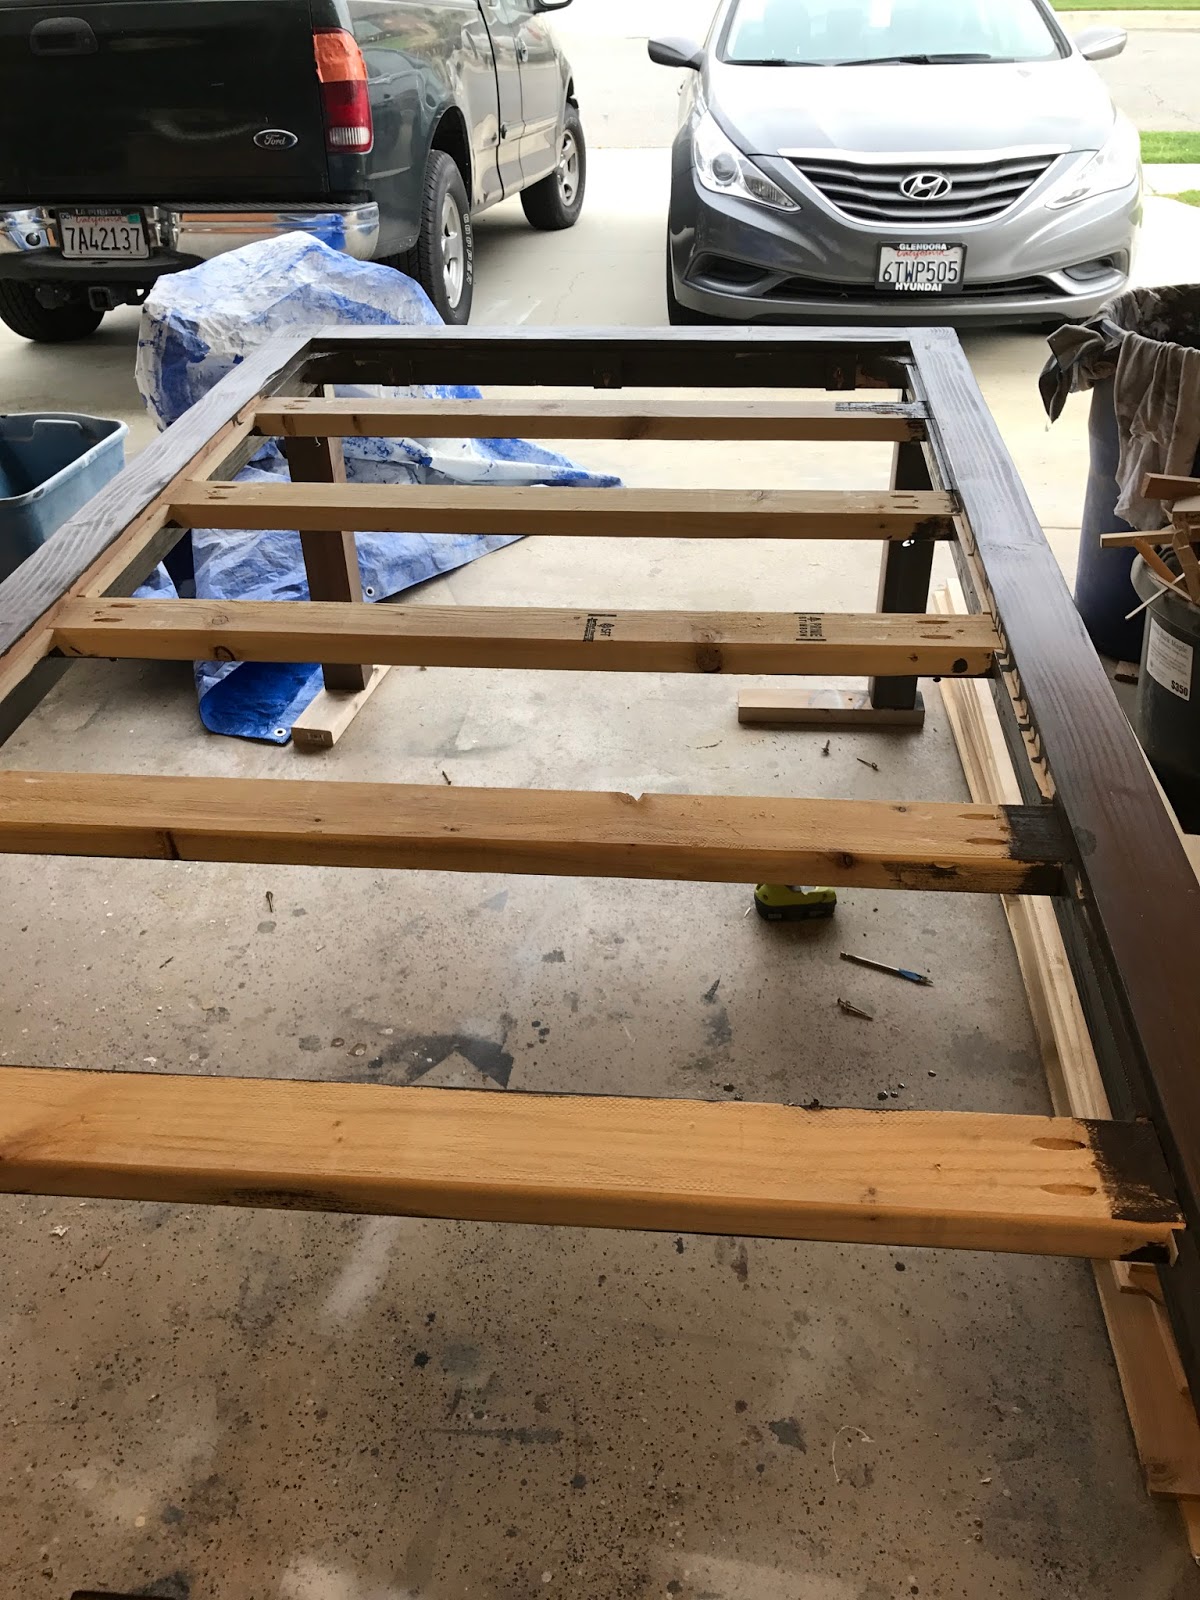
So, while visiting Logger daughter after her surgery, taking kids back and forth to school, driving them to various practices, helping with normal upkeep while she recuperated, I took some time to try to help my grandson with his closet organization.  From broken plastic bins and towers of stuff, he now has several drawers to store some clothes and favorite items.  He has lots of hanging space, double rods on one side, tall hanging space on the other to store hunting garments and jackets.  A large drawer that slides under his bed will also help with shoe storage.

I'm glad I had something to do while there - it kept my mind busy with something other than the worry that's been lurking there ever since we learned about this unique genetic mutation that is now a part of our family history.

I'm so proud of my girls.  I'm sure they've had their moments of fear, anger, and frustration.  But, from the very first, they have not faltered in their drive to do whatever is necessary to reduce their risk of dying from breast or ovarian disease.  Once the surgeries are final, their risk is reduced to at or below that of the general populations.  And, they can live without constantly wondering and worrying when they would learn that the disease had caught up with them.  They've been a wonderful example of how to deal with this health risk - and they have shown their daughters and sons that their actions are reasonable and doable, and if necessary, that they, too, will be able to make these hard decisions without fear.

And, here's the closet stuff.  Not all that impressive, but I think it will help my grandson contain some of his belongings.  And, yes, that deer was shot by my grandson when he was about 10 or 11.  This family hunts for their meat, not for the pleasure of killing deer (although they do like the hunt!).  This deer head is just one of two that have found a home in his bedroom - and, although it's hard to believe, I've gotten used to seeing them!

Double hanging rods with a bit of room for shoes on the floor of the closet.

Drawers and shelves for socks and underwear and lots of other must have things!  The long hanging space holds hunting togs and boots and other tall things.

And, just for kicks - this is my other Logger grandson, my daughter's youngest child.  This was taken at his promotion to Jr. High School (6th grade!).  He was so cute - he picked out his outfit the night before, good jeans, black dress shirt, cowboy boots.  He was the sharpest looking kid there!


Sunday, April 30, 2017

New Adventures - and a new TV stand

I have a wonderful neighbor that is beginning a new journey in life.  Yes, she's in her 70's but she's not letting her age keep her from trying something new - so good to see!

While Toni is keeping her home down the street from me, she is also leasing a condo about an hour and a half from our homes.  This change will bring her closer to her daughter's family, and she hopes to spend much more time with her 8 year old granddaughter.  

Since she's not selling her house, she needed to furnish this 2 bedroom condo.  There was a perfect niche for a television but because of the size it required something custom built to hold the TV.  

The result, although not a perfect fit, it's working for her now.  (I either measured wrong or the walls were more crooked than I anticipated! )  I'm going to be out of town for a few weeks but when I'm back I think I'll need to tweak that cabinet a bit!  Plus, I think she'll be adding a matching custom built floating shelf slightly above her TV.

Anyway, it looks just like she wanted it to.  White semi-gloss paint, warm silvery-brass handles.  It's a perfect spot for her TV, and it gives her lots of storage-something that is often pretty meager in rentals.  


Here's to a wonderful adventure, Toni!  

Thursday, March 30, 2017

The 4th of July - it's just around the corner!

So, I still had a couple of the stars I made for Christmas.  I needed a gift for one of my sweet sisters.  And what do the two have to do with each other???  
Well, she happens to love the 4th of July.  I've been to her house on the 4th - she'd actually put up bunting and everything!  So, I scanned the internet and saw the perfect gift - was able to use my stars and make something I think she'll like using.  I see it hanging on her front door - we'll just have to see where she uses it though!


Aren't these the cutest things ever??


Sunday, March 26, 2017

Massive Table Build - for FUN!

For some years now, I've been following the blogs of a few young women builders. I am in awe of them!  They have young families, they have jobs, some have illnesses, and yet they all build beautiful furniture.  And, several of them design the furniture they build.  AND, they share their plans with others FREE OF CHARGE.  Those of you who don't follow blogs or Instagram, or Facebook pages related to woodworking are really missing out!  It's just amazing to see the beautiful pieces put together by men and women who just love working with wood!  

Shortly after Christmas one of the young women bloggers, Jen of House of Wood (http://jenwoodhouse.com/), blogged that she had plans for so many different furniture pieces that she had designed and she lamented that she just didn't have time to build all of them.  I responded to that post that I'd love to build one of her plans for her.  I really wasn't expecting to hear from her, but lo and behold, she did respond.  She'd looked at some of my posts and complemented me on my large storage cabinet for my sister.  She also include a picture from one of her plans and asked if I'd like to collaborate on this project with her.  Well, of course I did, Silly!!!  

She hadn't yet included the plans so I responded to her to send along the plans and I'd happily get it built.  When I got the plans I was in the middle of my big kitchen project and CA was in the midst of the stormiest winter in years.  Don't get me wrong, I'm happy for all the rain, it just put a big crimp in my working hours!  I work in the garage and if I can't move projects that are complete or in progress out on to the driveway while I work - I can't work!  I did go buy lumber so that it would have time to dry a bit more and acclimate to my work space.  But, that's as far as it got until these past couple of weeks.  Then I got busy!

Jen's plan looked simple enough, but I'd already run into one problem when buying lumber.  Jen's plans called for the legs and table structure to be built of 5 x 5s; Home Depot doesn't carry 5 x 5s.  I hmmmed and haaawed and finally just bought 4 x 4s.  I figured that although it wouldn't be exact, it would give Jen an opportunity to see the table finished.  

I ran every piece of wood through the planer - several times.  All of the 4 x 4s were prepped to exactly the same size, all of the 1 x 6 material was also smoothed the the same thickness. This did help immensely, but it was still a bear to put together (for me anyway - I'm old!). 


The plans called for glue and a couple of 4" screws to hold the legs tight to the side and end pieces.  I just wasn't sure that this was enough support for the weight.  It might very well have been, but I always err on the side of caution.  I decided that I would add l-brackets to the underside of each cross piece and attached those to the legs (I painted them a flat black to finish them off).  


The brackets did add to the support and added an unexpected bonus - they helped me to keep the legs/side and end pieces square during the build.  When I joined all of the pieces together to form the table I did have problems maintaining square but I did the best I could and dealt with any adjustments after the fact.  I admit, that was really, really hard to do as the glue had begun to set up and those heavy, long pieces were all joined together.  

I finally put a long pipe clamp from corner to corner and cranked on it until square was achieved.  Then I let that sit for a day to make sure I had as good a glue joint as possible.  (as an aside, I have very few clamps and for this table I needed clamps that were at least 96" long.  I have two bar clamps (given to me by a good friend) and decided the simplest and cheapest option was to go buy two additional 5' pipes and a couple of connectors.  Home Depot was very nice and cleaned up the threaded end of one of the original pipes so I ended up with 2 additional  10' pipe clamps.)


Then I started working on the planked top.  The boards were already planed and ripped to size so I started adding biscuit cuts to all of the boards.  


I glued and joined 4 boards, and 2 sets of 2 boards.  After another day of sitting clamped up, I joined all the sections to create the large table top.  After more time spent waiting for glue to dry - an activity very similar to waiting for paint to dry - I was able to sand, and sand, and sand  some more.  I like for the bottom of a table top to be just as nice looking as the top.  When I use pocket screws sometimes that doesn't happen (unless I decide to fill all those pockets!), but this top used just glue and biscuits. So, except for a few more divots the bottom was finished and the top flipped for more filling and sanding.  There are a couple of sap pockets, knots and gouges in the top that I didn't try to fill or sand out; I like the character these add to the finished piece.  

Once the top was finished I had to insert it into the opening in the table - between the sides and ends.  I added 2x4 support pieces across the width of the table and corner braces, all set down 3/4" from the top to accommodate the table top.  Then I slid - or tried to slide - the top into this open space.  And, found that my "square" was quite a bit different than the table's "square"!  What I should have done - oh, hindsight what a glorious thing you are! - was to make the table top a tad longer and wider than needed.  Then just laid the top over the opening it needed to fit into, and from the underside trace the outline it needed to be cut  in order for it to fit.  But, that didn't happen. That's when I decided that I needed to sit in the sun and read, and hope for some genius idea on how to "fix" my beautiful table (Yes, now it's 90 degrees in the middle of the day, and we're all longing for more rain!).  


When you join wood lengthwise and crossways, you have to take into consideration the natural movement of the wood.  I understand about 1/10th of a percent of what I should know about this.  But, I knew that I was going to have problems with that table top if I couldn't get a more equal space around all edges.  And, hopefully, I could keep the gap to less than 1/8 of an inch.  I did figure out how to do this.  No, I can't tell you how or you'd spend hours trying to find my "fix" and I'd rather you think that I was able to make this correction just using my extremely honed woodworking skills.😜


Once that was complete there was more sanding, and then I decided that with the slight gap around the edge of the center table panel there just might be an opportunity for spills and crumbs to find their way from the table to the floor, I decided to add small pieces between each of the supports attached to both the long and short cross pieces.  (You can almost see these in the picture above that shows the cross supports.) I also had to find a way to attach the top to the table base.  Again, wood movement comes into play.  I finally did something that I'm pretty sure will work.  I made some things to fit around my extra small boards on the ends, 3 of them on each side.  They are attached to the ends of the table.  Where they are screwed into the table top.  I predrilled a hole a bit larger than the screw that would go into the table top.  I used a washer to keep the screw tight at the end.  I think the extra space in the screw holes will allow for wood movement while still holding the top stable.  

I did the same extra large holes predrilled into the cross pieces, and using a washer and screw put a screw up from the bottom and into the table top boards.  I did see something like this on a woodworking site, so I'm pretty confident that it will work.  

After more sanding and smoothing, and filling and sanding, the table was now ready for stain and finishing.  

Pine has a tendency to be blotchy.  I tried something new this time and added a seal coat of shellac before I applied any stain.  This worked really well!  Once the shellac was dry I sanded the top again, wiped it down, and applied a coat of Varathane Briarsmoke.  

By itself, Briarsmoke is a pretty grayish/brown color.  But, it seemed a bit flat.  


So, I let that dry, lightly sanded, and added a very light coat of Varathane Sunbleached.  Then, after another sanding and wiping, I added a final coat of Minwax Early American.  


After the stain color was where I wanted it, I applied 4 coats of satin polyurethane and a final coat of gloss polyurethane.  

I'm not the best at staging pictures, but I did have my Camper Grandkids come over and help me move it out of the garage!

It almost looks small in these pictures-it isn't!  It's 90" long and 48" wide!  You could easily sit 10-12 people around this table.  


My photography skills do not do justice to the beautiful color of the finished table.  Warm brown with a hint of gray.  


I had a good time building this - it is beautiful.  Its clean, modern lines meld perfectly with the common woods used for the build and gives it a modern, rustic, Restoration Hardware/Pottery Barn feel.  It's a table for family and friends to gather.  

 Isn't he handsome??


Thanks, Jen, for sharing your talents with me.  I hope you get some satisfaction in seeing your design come to life!  And everyone else reading this, be sure to check Jen's blog - she does amazing things!

PS:  This table is for sale!  You know me-I have way too many tables as it is!  Message me if you, or someone you know, is looking for a big family table - Easter's coming, you're going to need a big table!