
I'm going to share my ongoing finishing saga with you.
Mind you, the pictures are scary. Be prepared!
Mind you, the pictures are scary. Be prepared!
(I have wanted to use this cute picture ever since I first saw it. And, boy does it fit this situation!)
I've been working with Camping Daughter's (CD's) nice neighbor on the finish for her custom sewing table and the movable table with drop leaves.
We originally used MinWax PolyShades, Pecan Glossy, and I don't recommend it!

This is the "before" finish. Looks good, doesn't it? Well, it wasn't good. Inside all that shiny finish is a mess of bubbles! They kind of look like specs of lint or dust (and how could that happen in my garage - there's no dust there!). And, the last coat of the PolyShades sort of shrunk up on itself in several places. It was impossible to get a good picture of that mess, but believe me it was ugly!


Sanding through that shiny finish with my finish sander just wasn't working. So, I made a trip to Home Depot for a stripping compound. There are so darned many of them available I can only assume that there are lots of people like me who really don't know how to finish and have to resort to "fixes"!
Here're just a few of the many products I had to choose from:
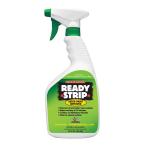
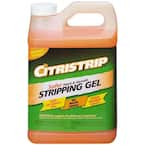

And, the winner is this stuff. And, I thought I might need a lot!!
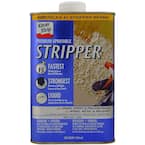
Here's what you do:
- This comes with a spray bottle, so you pour a bit in the spray bottle and put the lid back on the can. This stuff burns if it gets on you so I kept a water bottle close at hand and rinsed my hands whenever it splashed on me. And, I wore safety glasses - I sure didn't want this in my eyes!
- Then you spray, spray, spray the stuff all over your project.
- It immediately starts to bubble up - but, wait! You need to leave it on for 15 minutes.
Be patient (who, me??) - Then you use one of these plastic scraper/putty knives
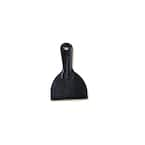
(You can see it there on the top in the next picture.) - And, just like that you have this curdled mess that scrapes up fairly easily. I should have taken a picture of it right after I sprayed it on. It's really interesting to watch it work.

- Then, because it doesn't get through the finish the first time, you repeat steps 2-5.

- You can repeat the process a 3rd time, but once you think the stripper has done all it can do, you get out your mineral spirits, pour into a clean cloth, and wipe up all the mess.
- Then you let it dry - it just takes few minutes.

- Now you get out your new orbital sander - or your old one, mine just happens to be new - see:
I found this Black and Decker to be just the right fit for my hand. And, it happened to be the cheapest. It might not be the best but it works for me
- I guess I didn't get a picture of it sanded. The sander worked really well at getting my piece back to almost bare wood.
- I was then ready to start refinishing it. You can be it that I was holding my breath. CD's neighbor had picked out just a stain (nothing but stain, no poly in it!) that best matched the color of the PolyShades she'd originally selected. It's pretty close, just a tad more orange in it.
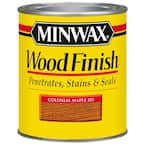 And, thank God, it went on beautifully.
- Lastly, take a huge sigh of relief! It's not completely ruined.


It won't be as shiny and glossy as CDs neighbor would probably like,
but I think it will have a beautiful soft gloss to it.
but I think it will have a beautiful soft gloss to it.
Stay tuned - I hope to have a picture of the finished, installed piece by next weekend!
(I think I'm supposed to mention that I'm not being paid for my comments about any of these products - but then, you can probably tell that from my not-so-glowing remarks about some of them!)
I feel your pain. I have pretty much abandoned Minwax after a stair project that took me 3 attempts. After the 2nd try, I just went out and bought new wood! I have now used Rustoleum and their water based poly and it was beautiful.
ReplyDeleteI don't think I ever replied to your comment - I'm sorry! Thanks for your thoughts on this "fail"!
DeleteIt is pretty now. I like the stain better than the MinWax shiny shiny stuff anyway. The matte finish is easier to keep clean and more modern. What is the wood?
ReplyDeleteFor some reason I think I completely missed your comment - well, the reason is I don't really expect comments so I don't think about checking for them. I'm so sorry. Thank you for taking the time to comment. The wood was select pine from Home Depot. I've since made a practice of conditioning my wood prior to staining, and never use the polyshades!
Delete